1
Tap “I’ve parked”
Open the app and tap the large button. The app records the current time and attempts to capture your location.
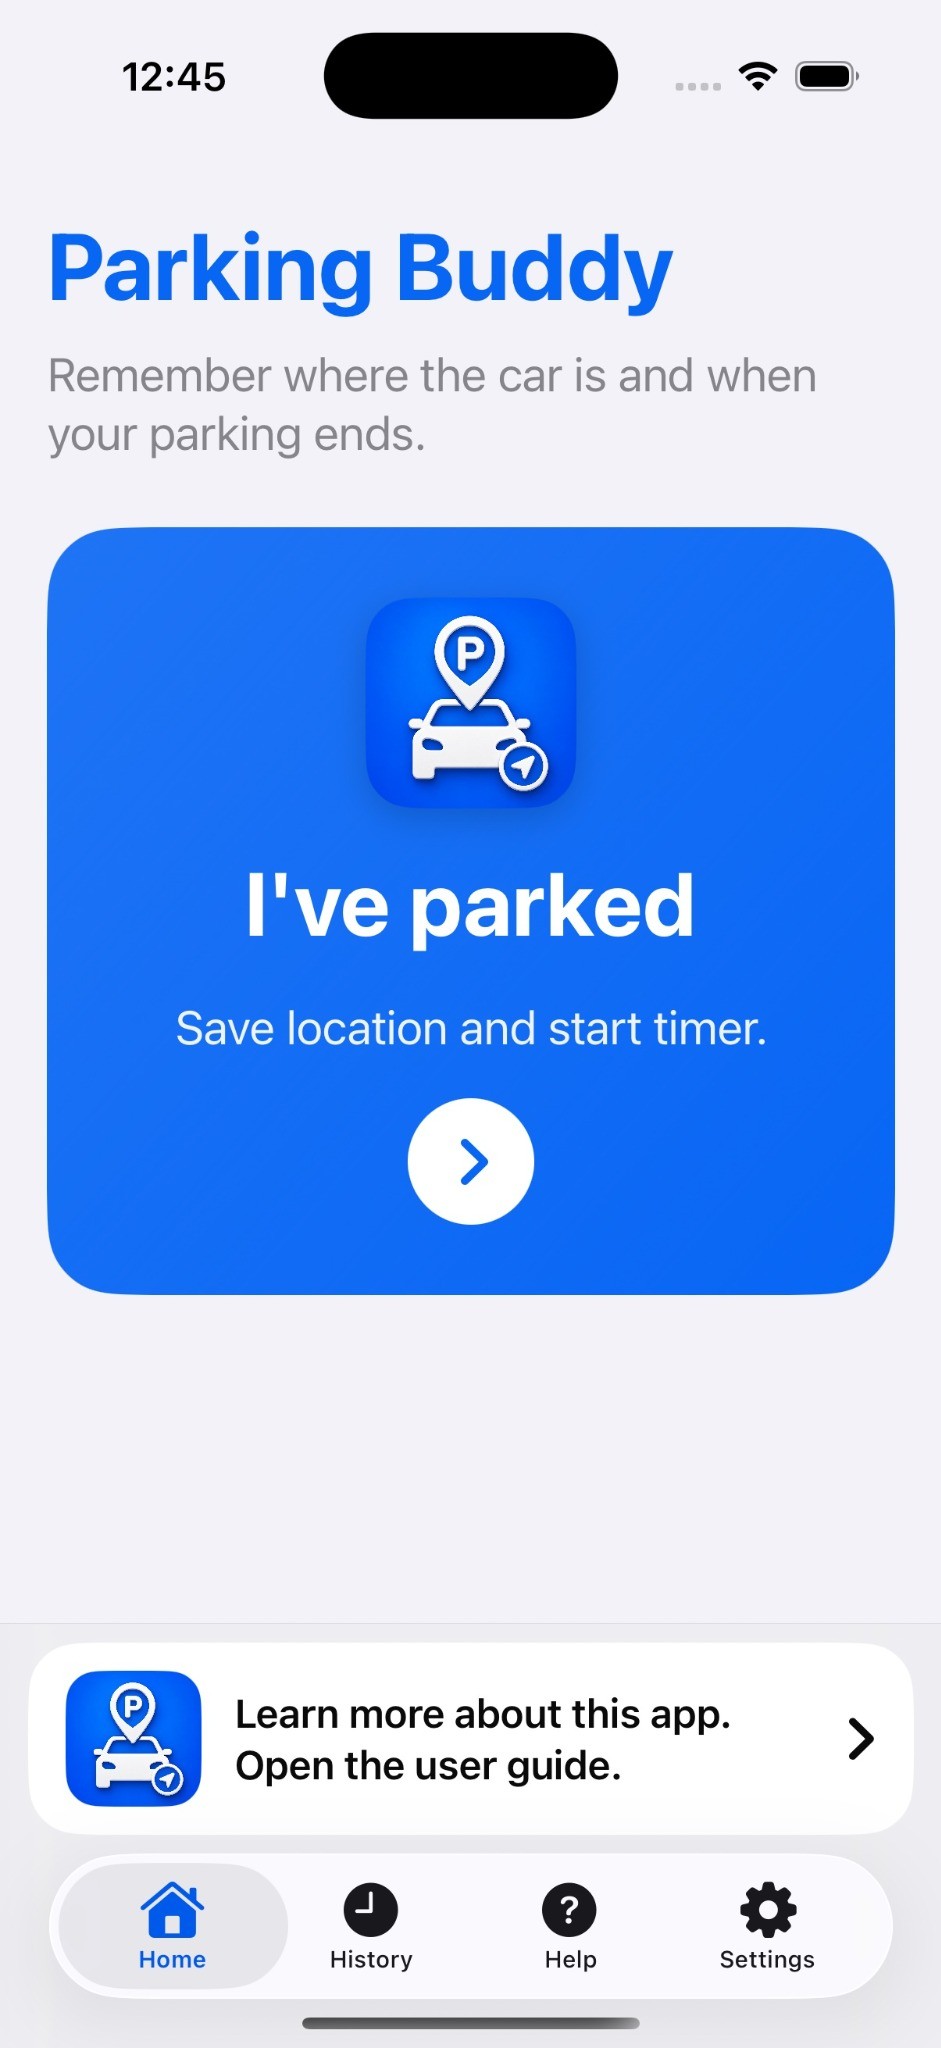
A quick guide to saving your parking place and finding your way back.
Open the app and tap the large button. The app records the current time and attempts to capture your location.
Use the suggested place, search for a location, use your current position or tap the map to move the parking marker.
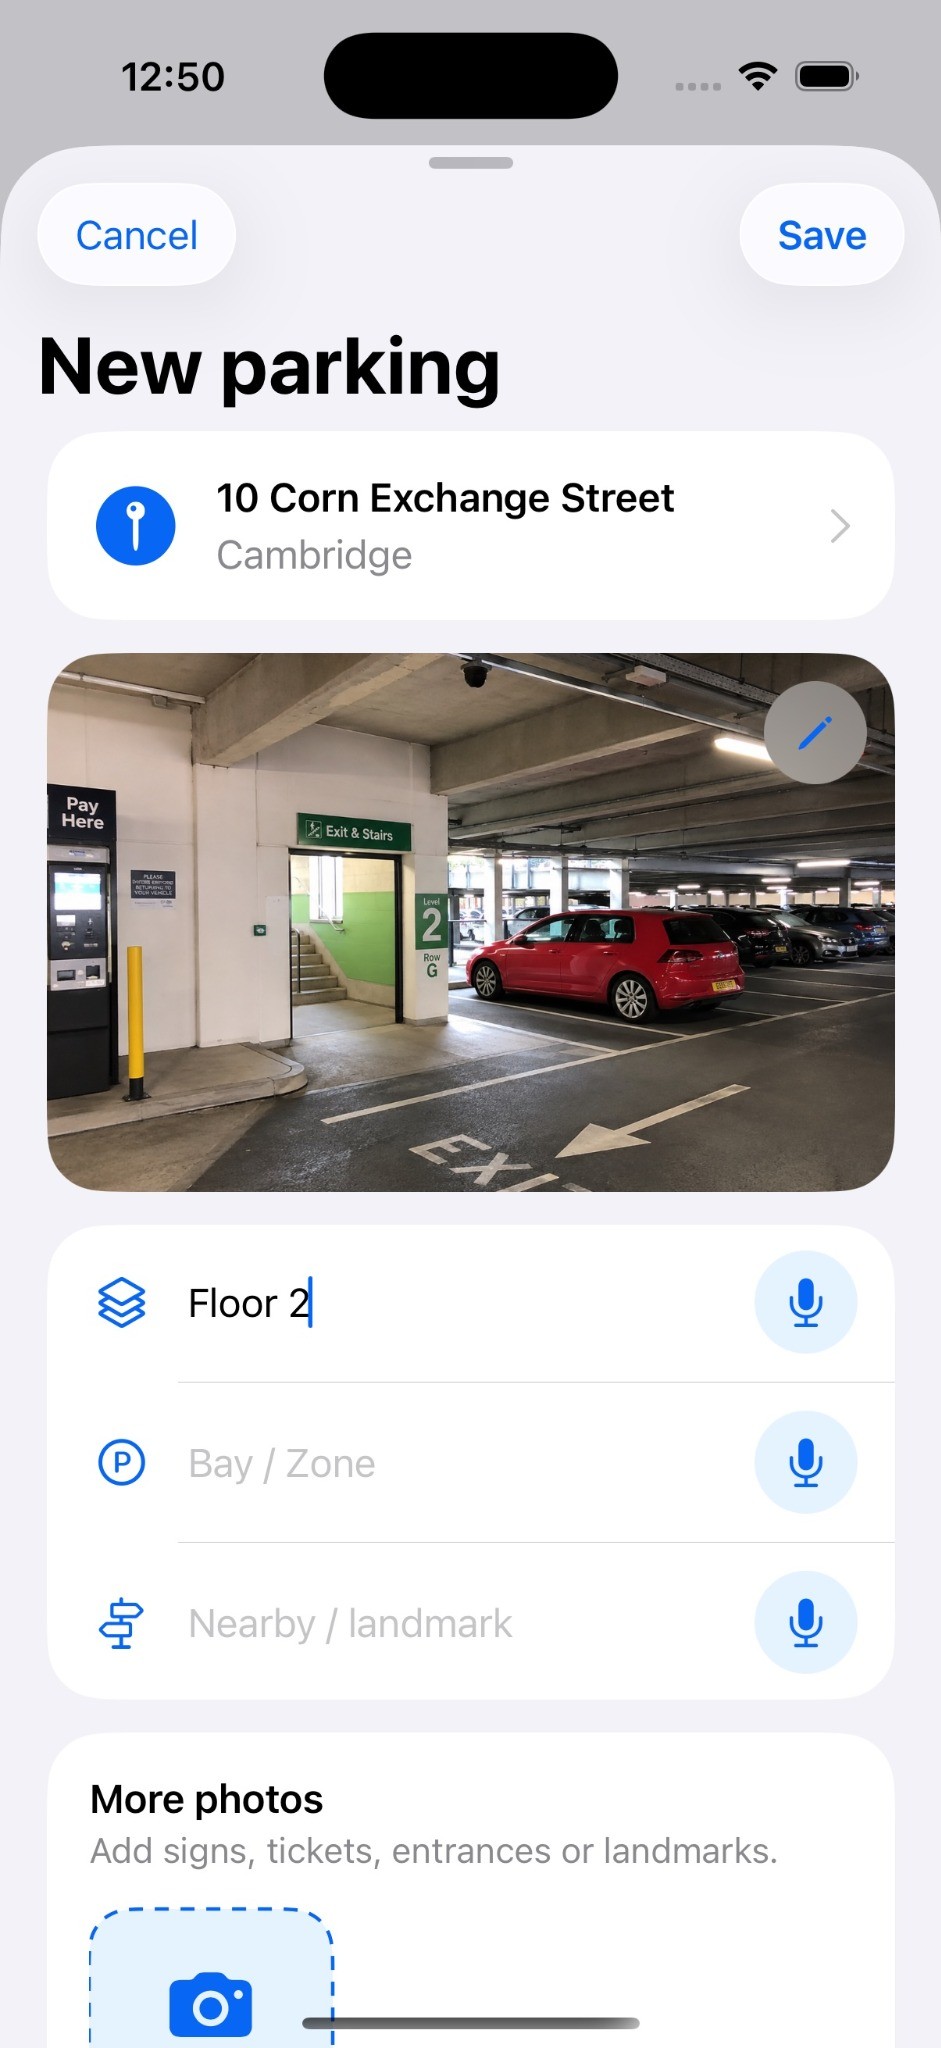
Photograph the car or nearby sign, then record the floor, bay or zone, nearby landmark and any notes you may need later.
Keep No Limit, choose a preset duration or select a custom expiry time, then save the parking session.
Check the saved photo and details, see walking time and distance, then open walking directions in Apple Maps.
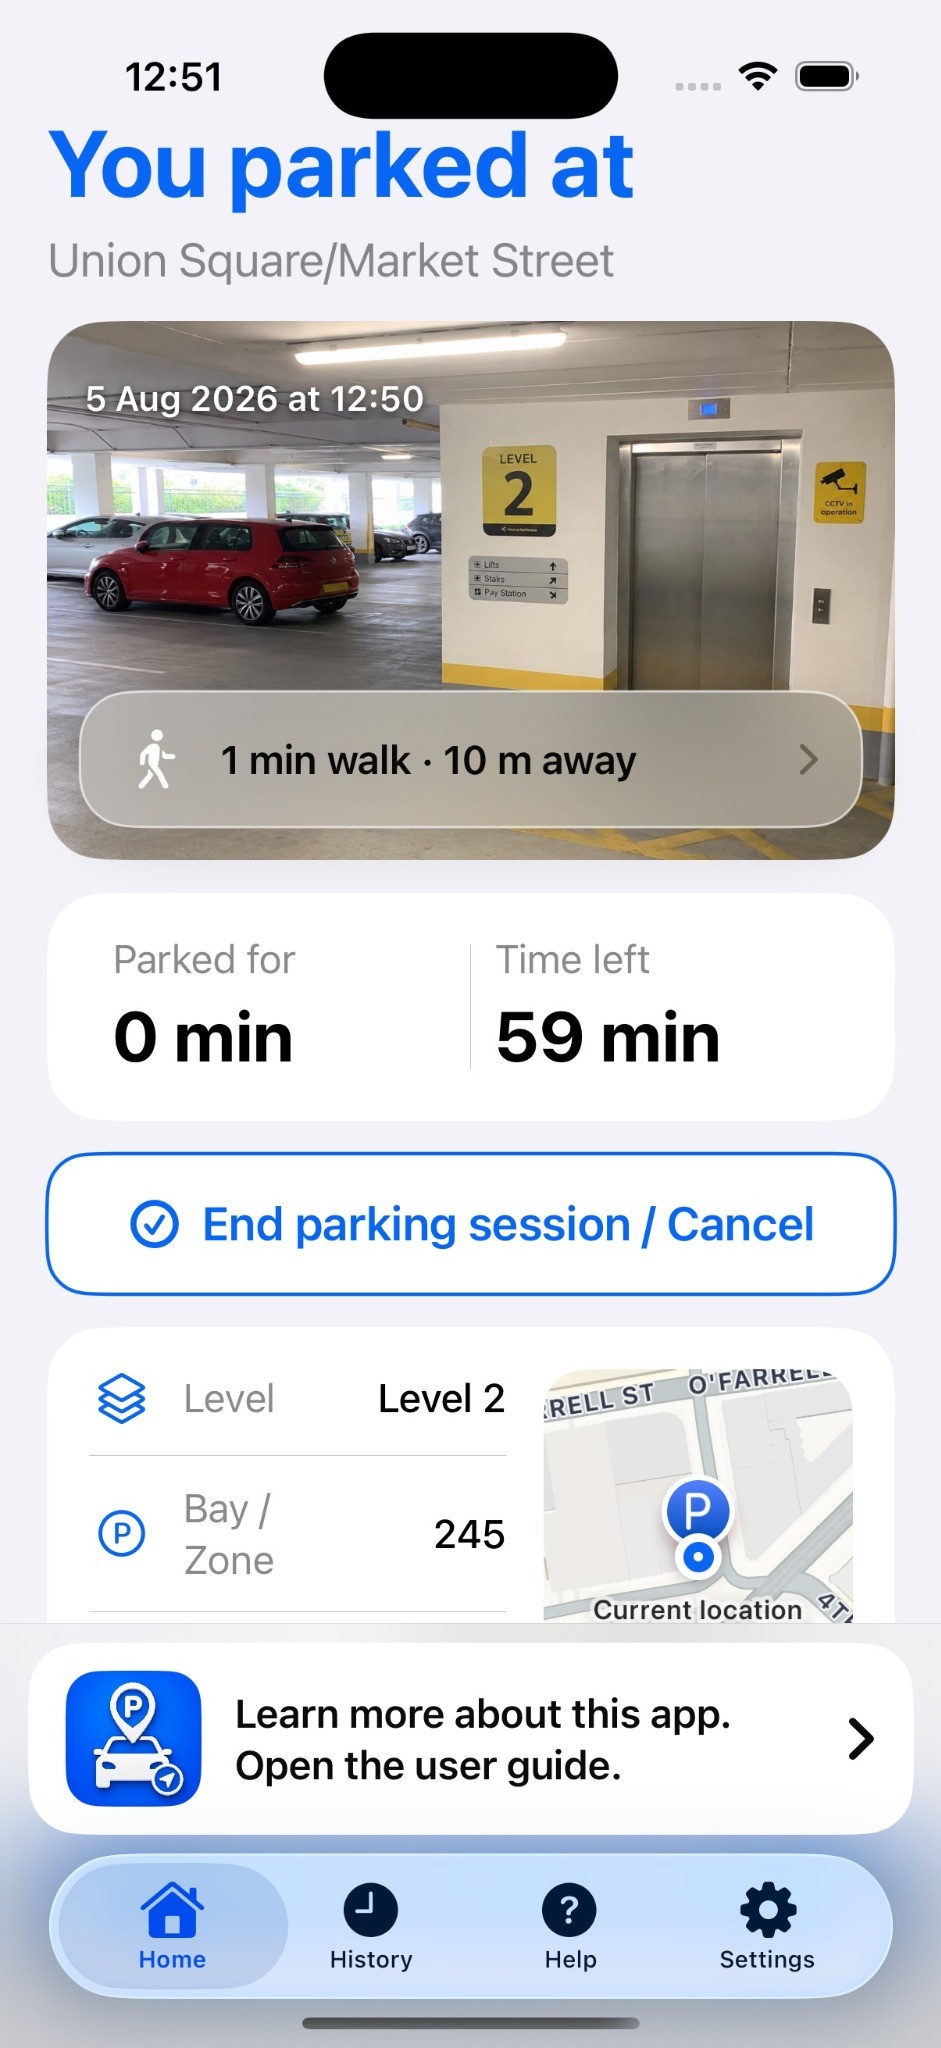
End the active parking session when you return. The completed record remains in searchable History and can be reused with Park here again.
Consider photographing the car, floor sign, bay number, lift, stairwell, exit, payment machine, parking restrictions, ticket or nearest landmark.
GPS and map information can be approximate, particularly underground, inside multi-storey car parks, near tall buildings or where data signal is poor. Check the saved marker and add photos, levels, bays and landmarks as extra clues.
Always check official parking signs, restrictions, payment requirements and expiry times. The app does not pay for parking or automatically identify local parking rules.